I the last blog I showed how the building was built and hinted at the work which was happening in R79. In this blog I will show you the work that went into building the machine itself. To start with R79 had to be filled with the infrastructure that we were going to use on building it. That meant ordering up tools, benches, fixtures, jigs, cleaning equipment and lifting equipment plus a whole lot more.


So where do you start, and empty building needed filling with equipment

The tripod was part of the survey equipment they world need to mark out where some of the heavy stuff was going, the benches were supposed to be for use but no use to when we were doing. The are still around over in the main building and used there

We had a kitchen but no tables yet

An office, not that I used it

Another office which I ended up in

And a place to store equipment


Within days of the place being given over for use equipment started coming in

More parts came in

That made up the two ovens you see either side of the build trolley that had been delivered

The manager trying out the tug you saw in an early photo

The trolley was placed in the clean room

and the plates fitted for the assembly of the vacuum string

Test equipment came in like the pump cart you see in the centre along with leak detectors. We ended up with thirty pumping carts, they cost 20k each and over 16 leak detectors at around 14k each and this was for only the first stage of building the machine

The ovens ended up looking like this with a lifting frame around it

While this was going on my job was being over in the main building taking charge of these which were being delivered from Germany. They are what we called ID makeups

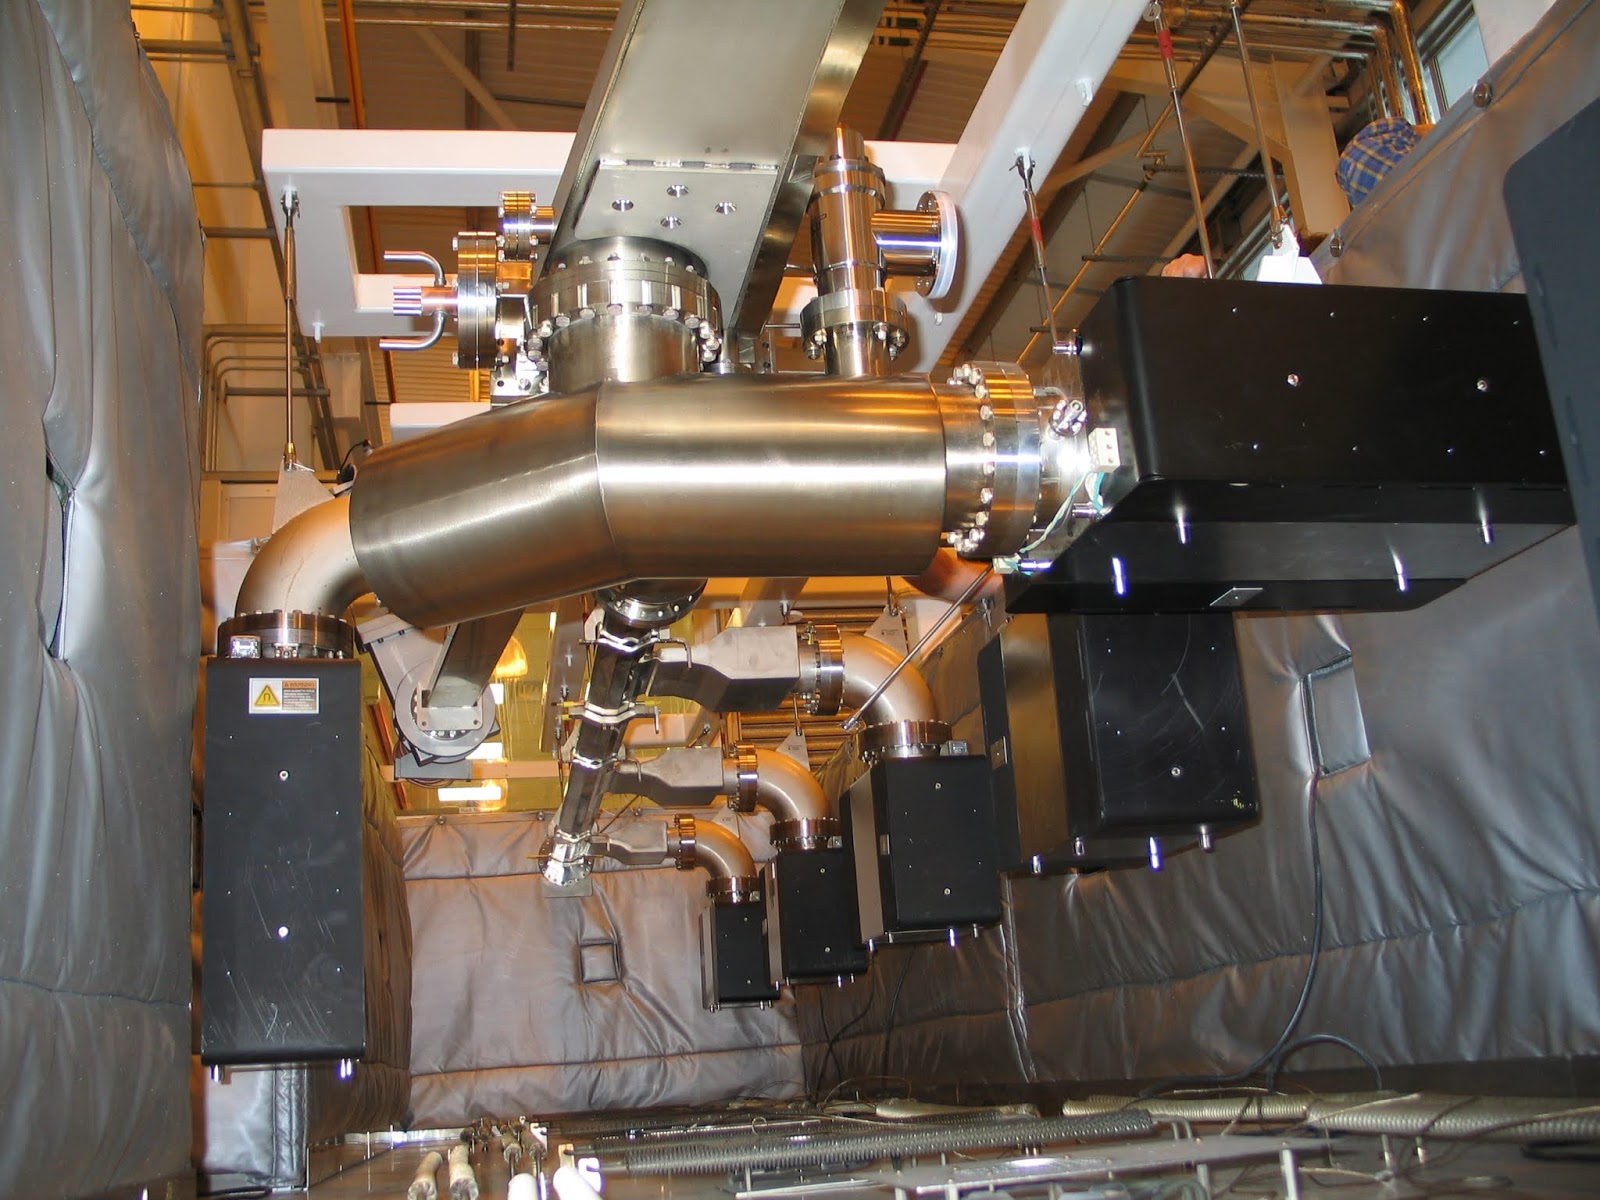
Th ID stands for Insertion Device, it was something that would go between sections of the storage ring. These were late in coming so this section would be going in so we could run

They were put in storage tents to keep clean because the building was still a dusty construction site. I had to make sure that they still held a vacuum and fix a small pump controller to it so the ION pumps could run. I had to check the pressures twice a day & write the readings. It only took around twenty minuets with the first ones but by the time we had all of them I was spending a couple of hours checking them

We also took delivery of this second hand container to store equipment and tools. Eventually this container was moved outside and only replaced with a new one last year

It looks a little space to start with only having a couple tool boxes in it and a few parts on the shelves. We had eight tool boxes that cost the best part of 20K when fully stocked


In R79 the first of the storage ring vessels were arriving on wooden boxes from Germany

The vacuum strings were loaded up onto the build trolley

The ion pumps fitted

and strapped in place

till they were all in place

While they were assembling the vacuum strings it was quite busy with technicians putting parts on

Now though I was involved it some of the work you have seen I was also keeping an eye on the engineering side for the Vacuum Group and as I was looking after the lifting equipment I was making sure it was up to the job. The first of the girders came in that the vacuum strings would be fitted to


One of the first thing to do was load test one with the correct weights and then take it to the storage ring on a dummy run


It was loaded on a trailer and transported to the Diamond building along the roads in Rutherford.

Then onto the Diamond construction site


The into the building where it was unloaded

Lifted on the crane and transported around the top of the storage ring

across the bridge being built

The finally into the storage ring

where It was lowered into place with quite a crowd watching

as we all thought it went off without a problem


You may think why go to all this effort if it was that easy. We had built a replica of the cable trays that were going to be part of the problem in the storage ring over in R79 this showed what we would encounter putting in the fully assembled girders. The test over on the Left here does not have them
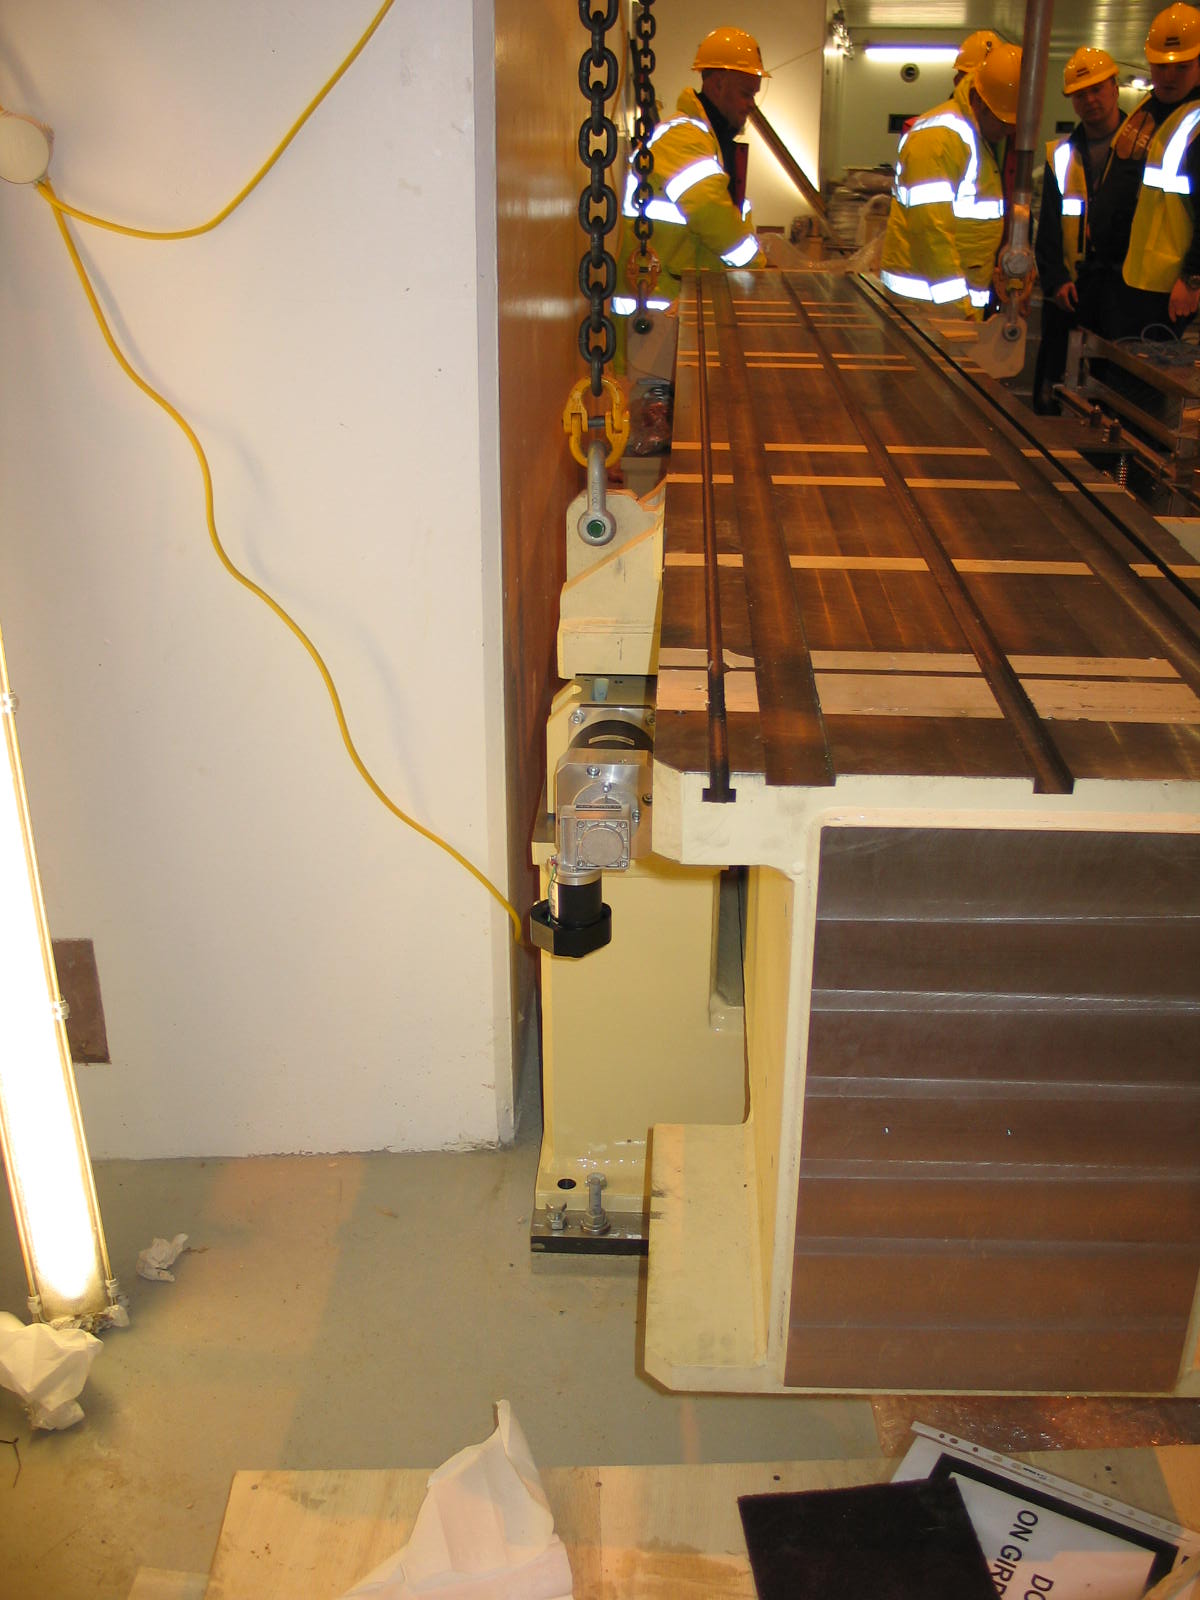

Then there was the amount of clearance from the walls to the lifting brackets and frames to contend with

It all ran very close to the ratchet wall

and even closer to the light fittings on the wall. When the real thing went in it would have valves gauges and other items protruding which if damaged could cause thousands of pounds worth of damage


Over in R79 the first string was ready for the oven and had to be transferred out of the clean room to be lifted in

This was quite a process as a lifting from had to be lowered onto the string

It was quite an operation which took a lot of people to make sure it all came down correctly in place


Once this was done tie rods were connected to lifting points on the string

and the whole thing was lifted in the air


and over into the oven

where it was lowered back down in place to be baked out

then around a week later when it had cooled down the process of lifting it out happened again, only this time it was transferred to the girder.

But first we had a dummy run

to check it all fitted on the supports


this was no easy task as it had to be done with great accuracy to check for any problems

The next time we did this it was for real and the magnets would be in place

This would complicate things because of the clearance


but they were split so it was a little easier


First the finished string was brought through the workshop

to be lowered onto the girder with all the magnets in place

again people watched as it was lowered in place to ensure nothing snagged on the way down and cause damage

it was watched every inch of the way down
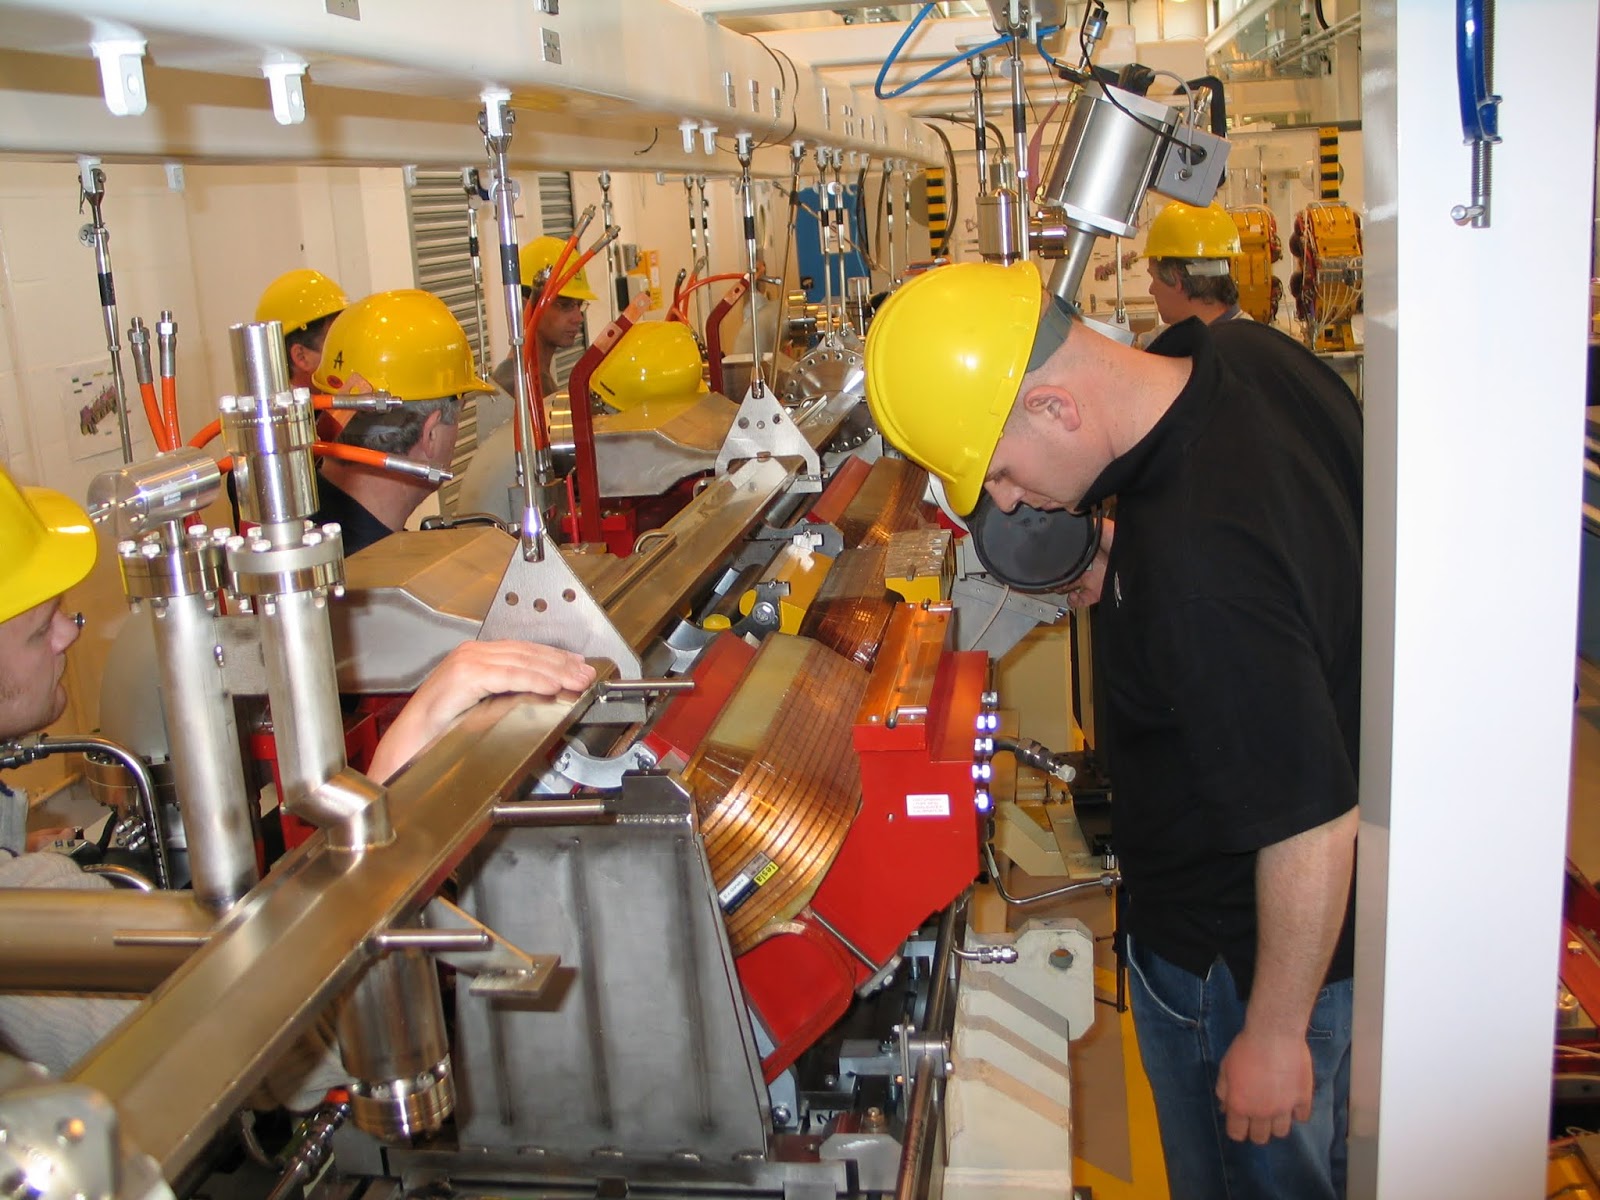
till it was finally in place

In the next blog I will show you how they were lifted in place over in the storage ring the connected up along with the other work that was done to make the machine work